


Variants of how to produce this dimension in DAX, SQL, Excel,… But what about Power Query has been presented for a long time? By itself, or from the point of view of its language, it can also offer this option for creating a Date dimension. There are more options for how. Here are a few variants that I will cover here today:
- Number list variant
- Date list variant
These two variants we can take as a primary division. But I will break it down into other options from the point of view of how the creation of separate columns for this dimension will be approached:
- Column-by-step creation
- Columns-in-Record creation
- By #table creation
Let’s set some game rules at the beginning. First, it will be about the dimension we create from 1.1.2000 to 31.12.2050. Furthermore, the following columns with specific data types must exist at the end of the procedure for each variant:
- Date and date
- Year as Int64.Type
- Month as Int64.Type
- MonthName as text
- Day as Int64.Type
- WeekDay as Int64.Type
- WeekDayName as text
- Quarter as Int64.Type
- QuarterName as text
- isWeekend as logical
That might give us enough values for some testing as well.
Number list and Date list
In both of these variants, I have to start by creating a list of values that will serve as an input set, which I will then expand by individual columns. But why am I dividing it into Numbers and Dates? This is because when a person starts with Power Query or with the language M, he very often comes to the operand ”..”, which forms a sequence of values from the left value to the right.
Example:
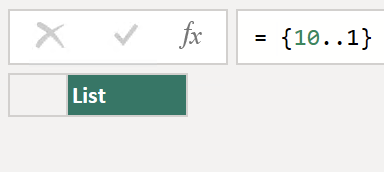
= {1..10} List generator
It must always be an increasing sequence, so if I were to use ”={10..1}” I would get an blank response.
 Blank list
At the same time, it should also be said that the ”..” operand can work with strings.
 List of letters
So it will work with dates, too. NO!
 Returned Error
But dates are convertible to numbers. The number 1 can be converted in Power Query to the date (31/12/1889), and from this date, the date of the others is derived. So the date 1/1/2023 can be represented by the number 44927, and our input interval will be:
- 1/1/2000 = 36526
- 31/12/2050 = 55153
If I subtract these numbers, I will find that the resulting table would have 18627 rows. This number tells us that if we either directly used these numbers or used this procedure “={Number.From(start_date)..Number.From(end_date)}”, we would get a list of numbers that are convertible to the correct date range.
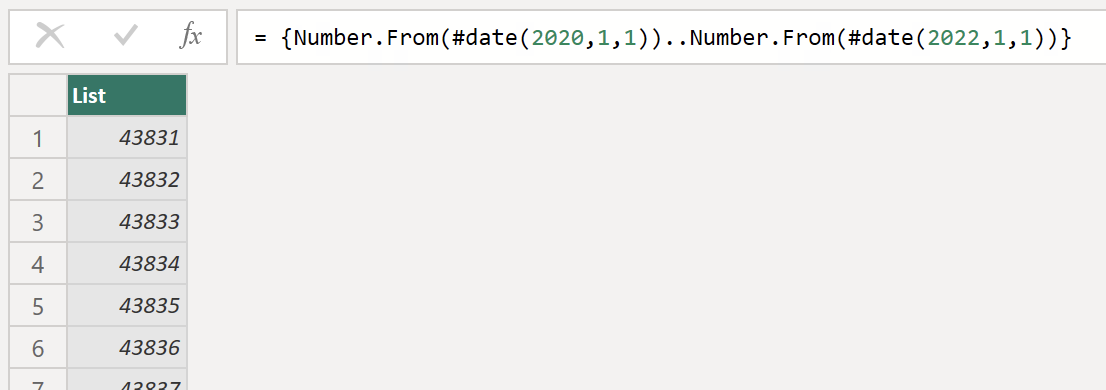 List of dates created by numbers
This procedure works but needs to be simplified. There is another way to create a Date list. It is more straightforward. This is a function:
= List.Dates(start as date, count as number, step as duration)The “start” and “count” parameters are relatively self-explanatory. In short, the starting date and the number of steps that will be taken from this selected day forward. The last parameter defines whether the steps will be by days, hours, minutes, or seconds. We can define it via the “#duration()” initiator.
#duration(days as number, hours as number, minutes as number, seconds as number)- #duration(1,0,0,0) = 1 day
- #duration(5,0,0,0) = 5 days
Thus, we can also define that the date list will contain, for example, every second day from the initial day. But to achieve our desired List, it will have to look like this:
= List.Dates(#date(2000,1,1),18627,#duration(1,0,0,0))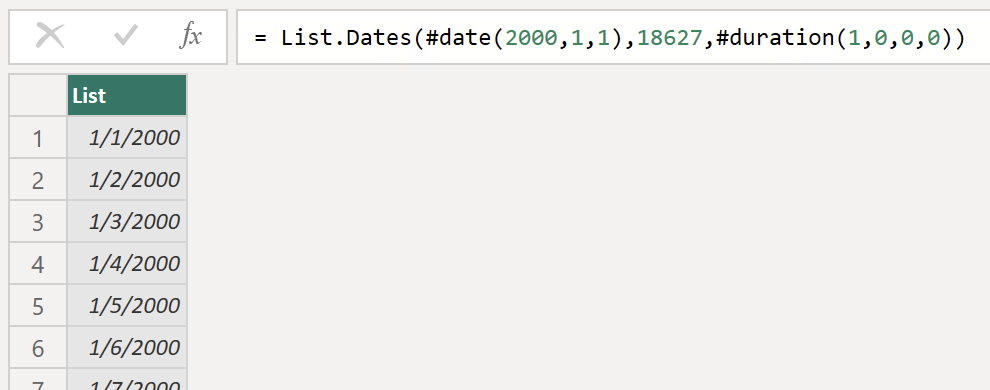 List of dates
We have basic options for creating a list of dates. But now it will be necessary to proceed further. So let’s start again from simpler variants to more complex ones.
Adding columns
To be able to add more columns at all, we have to turn the List into a table. For example, by using “To Table”:
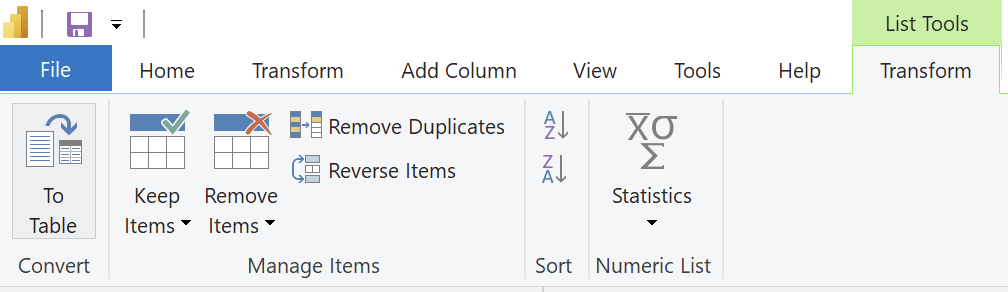 To table
Another option is through the initiator of the table (#table), but we will get to that later. Let’s stick to the fact that we want to create a new one from a simple conversion to a table. Just note that the List converted to a table in this way has the name “Column1” by default.
 Column1 as a name of column
It could be better because we would have to rename this column. So instead, let’s modify the code that Power Query created for us and let this “table” create a column with the specific name “Date.” We achieve this by replacing the first “null” in the entry with a custom list that will contain the name we want:
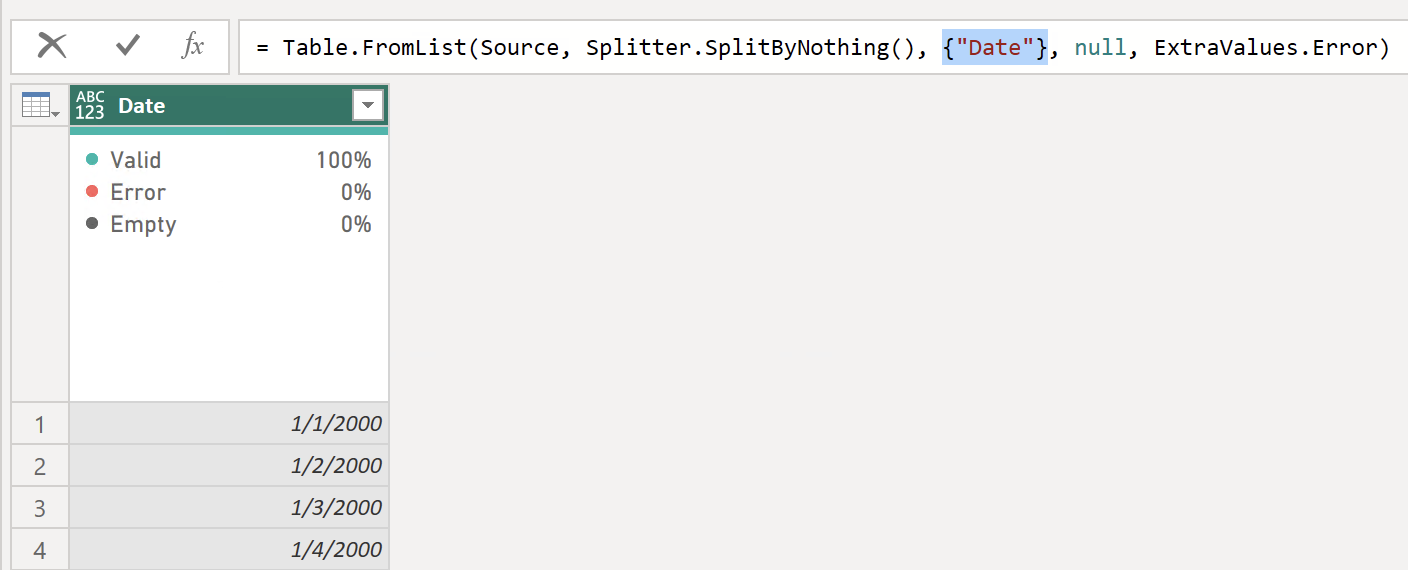 Defined name of new column
Column-by-step
We change the column’s data type to “date,” and we can start creating columns. If I follow the column-by-step method, I can create most of the necessary / mentioned columns through the UI. By Add columns tab -> From Date & Time section.
 From Date & Time
We would need more than two of the required columns: QuarterName and isWeekend. So we have to create them ourselves.
It’s simple for quarters. We get the quarter number, turn it into text, and concatenate it with the letter “Q” to get output like “1Q”, “2Q,” and so on.
QuarterName = Table.AddColumn( < previousStep > , "QuarterName", each Text.From(Date.QuarterOfYear([Date])) & "Q", type text)Deciding whether it’s the weekend won’t be so fast. First of all, note that the Date.DayOfWeek() function returns the days of the week as numbers between 0 and 6. And 0 is Sunday. Unless we define it differently in the second parameter of the function. If, for example, we used the number 1 in the second parameter, then the numbers of the days of the week will be returned a little differently because Monday will now be returned as a position number 0. Nevertheless, it can make it very easy for us to prepare this decision because, in that case, it is enough to say that if the returned number is greater than 4 (Friday), then it is the weekend.
isWeekend = Table.AddColumn(< previousStep > , "Day of Week", each if Date.DayOfWeek([Date],1) > 4 then true else false, type logical)With these two entries, we already have all the columns we need. Note one small thing. We didn’t have to set the data types for individual columns. The same goes for the columns that I wrote here for you. It is because those native functions for creating columns from the Datum column type use the fourth attribute of the Table.AddColumn function allows you to tell what data type the column should have. Just BEWARE!!! Suppose your calculation returns output in a format other than that specified in this fourth attribute. In that case, the Power Query interface will not notify you of the error, and you will only find out about it when you try to load the data into the model. It differs from changing the data type, which tries to convert each value in a column while validating it. This fourth attribute is more like your assurance to Power Query that it doesn’t have to deal with the data type because you handled it.
The full entry is here:
let
    Source = List.Dates(#date(2000, 1, 1), 18627, #duration(1, 0, 0, 0)),
    #"Converted to Table" = Table.FromList(Source, Splitter.SplitByNothing(), {"Date"}, null, ExtraValues.Error),
    #"Changed Type" = Table.TransformColumnTypes(#"Converted to Table", { {"Date", type date} }),
    #"Inserted Year" = Table.AddColumn(#"Changed Type", "Year", each Date.Year([Date]), Int64.Type),
    #"Inserted Month" = Table.AddColumn(#"Inserted Year", "Month", each Date.Month([Date]), Int64.Type),
    #"Inserted Month Name" = Table.AddColumn(#"Inserted Month", "Month Name", each Date.MonthName([Date]), type text),
    #"Inserted Day" = Table.AddColumn(#"Inserted Month Name", "Day", each Date.Day([Date]), Int64.Type),
    #"Inserted Day of Week" = Table.AddColumn(
        #"Inserted Day", "Day of Week", each Date.DayOfWeek([Date], 1), Int64.Type
    ),
    #"Inserted Day Name" = Table.AddColumn(
        #"Inserted Day of Week", "Day Name", each Date.DayOfWeekName([Date]), type text
    ),
    #"Inserted Quarter" = Table.AddColumn(
        #"Inserted Day Name", "Quarter", each Date.QuarterOfYear([Date]), Int64.Type
    ),
    #"Added Custom" = Table.AddColumn(#"Inserted Quarter", "QuarterName", each Text.From([Quarter]) & "Q", type text),
    #"Added Custom1" = Table.AddColumn(
        #"Added Custom", "isWeekend", each if [Day of Week] > 4 then true else false, type logical
    )
in
    #"Added Custom1"
Columns-in-Record
This method uses the fact that when a new column is created, a column can be created that will contain a record with all the columns inside it, and then we “just” expand this column. The solution should be created in fewer steps than in the previous variant.
It should be enough for us to use adding a new column and define the creation expression like this:
 Record Expression
The result will look like the new column will contain the values marked as a record. But the preview can clarify its details for us:
 Record preveiw
Within this variant, however, we then have to define their data types for all expanded columns because, after the expansion, there will be no spontaneous typing or transfer of the data type. In short, all columns will be of type ANY.
But the resulting query will look like the following:
let
    Source = List.Dates(#date(2000, 1, 1), 18627, #duration(1, 0, 0, 0)),
    #"Converted to Table" = Table.FromList(Source, Splitter.SplitByNothing(), {"Date"}, null, ExtraValues.Error),
    #"Changed Type" = Table.TransformColumnTypes(#"Converted to Table", { {"Date", type date} }),
    #"Added Custom" = Table.AddColumn(
        #"Changed Type",
        "recordGeneration",
        each
            [
                Year = Date.Year([Date]),
                Month = Date.Month([Date]),
                MonthName = Date.MonthName([Date]),
                Day = Date.Day([Date]),
                WeekDay = Date.DayOfWeek([Date], 1),
                WeekDayName = Date.DayOfWeekName([Date]),
                Quarter = Date.QuarterOfYear([Date]),
                QuarterName = Text.From(Quarter) & "Q",
                isWeekend = if WeekDay > 4 then true else false
            ]
    ),
    #"Expanded recordGeneration" = Table.ExpandRecordColumn(
        #"Added Custom",
        "recordGeneration",
        {"Year", "Month", "MonthName", "Day", "WeekDay", "WeekDayName", "Quarter", "QuarterName", "isWeekend"},
        {"Year", "Month", "MonthName", "Day", "WeekDay", "WeekDayName", "Quarter", "QuarterName", "isWeekend"}
    ),
    #"Changed Type1" = Table.TransformColumnTypes(
        #"Expanded recordGeneration",
        {
            {"Year", Int64.Type},
            {"Month", Int64.Type},
            {"MonthName", Int64.Type},
            {"Day", Int64.Type},
            {"WeekDay", Int64.Type},
            {"WeekDayName", type text},
            {"Quarter", Int64.Type},
            {"QuarterName", type text},
            {"isWeekend", type logical}
        }
    )
in
    #"Changed Type1"
We have left with the last method I mentioned at the beginning. (I remind you again that there are many more methods.) It is a method via the #table initiator.
#table
This method requires a step back! We only have a list and a table. Why? Because it is an initiator that creates the table for us as part of its course. It establishes it with specific parameters such as column names or even their data types.
The #table looks very trivial in its definition, but be aware.
It can do a lot! But how to combine our List into this initiator? Let’s pass the rows, or the second attribute, to it as one List containing the other lists. And the content of single sub-lists will be “just” arranged in columns in order.
But now we need a list of lists, not only one layer with dates. So we need to look for some function that can go through our List and modify its values according to our input. This is something that the List.Transform function can come in handy.
The procedure will be similar to when we defined that record for the new column. However, it will be a little easier because we don’t have to define the names yet, and we can use the character “_“ as a wildcard for the edited date. Just remember two things! We will still need the modified date, so we should keep it as well, and we define a LIST, so we have to store the result in these brackets ”{}.”
List.Transform(
    List.Dates(#date(2000,1,1),18627,#duration(1,0,0,0)),
    each
        {
            _,
            Date.Year(_),
            Date.Month(_),
            Date.MonthName(_),
            Date.Day(_),
            Date.DayOfWeek(_, 1),
            Date.DayOfWeekName(_),
            Date.QuarterOfYear(_),
            Text.From(Date.QuarterOfYear(_)) & "Q",
            if Date.DayOfWeek(_, 1) > 4 then
                true
            else
                false
        }
)
Now we have an actual list of lists. And the values in individual Lists are always in the same order. So we can have them spread out on a table.
We can either save the procedure prepared in this way in a separate step and then call it into the #table or insert it directly into the #table.
But before we do that, a few more words about the fact that we have created rows but no columns. If we wanted to create columns without a data type, we could pass the individual names within the List, but if we want to give it the data type as well, we have to do it a little differently:
type table [
    Date = date,
    Year = Int64.Type,
    Month = Int64.Type,
    MonthName = text,
    Day = Int64.Type,
    DayOfWeek = Int64.Type,
    DayOfWeekName = text,
    Quarter = Int64.Type,
    QuarterName = text,
    isWeekend = logical
]
The column definitions must be in the same order as they are defined within the “List.Transform” output! You can also evaluate this entry in Power Query. The result will be that the value “table” will be returned to you, and the query icon will be a table icon with a question mark. But no data anywhere.
The miracle will happen after we connect these two parts, i.e., the columns and rows within the #table.
#table(
    type table [
        Date = date,
        Year = Int64.Type,
        Month = Int64.Type,
        MonthName = text,
        Day = Int64.Type,
        DayOfWeek = Int64.Type,
        DayOfWeekName = text,
        Quarter = Int64.Type,
        QuarterName = text,
        isWeekend = logical
    ],
    List.Transform(
        List.Dates(#date(2000, 1, 1), 18627, #duration(1, 0, 0, 0)),
        each
            {
                _,
                Date.Year(_),
                Date.Month(_),
                Date.MonthName(_),
                Date.Day(_),
                Date.DayOfWeek(_, 1),
                Date.DayOfWeekName(_),
                Date.QuarterOfYear(_),
                Text.From(Date.QuarterOfYear(_)) & "Q",
                if Date.DayOfWeek(_, 1) > 4 then
                    true
                else
                    false
            }
    )
)
Because this code will make, the table materializes as we need.
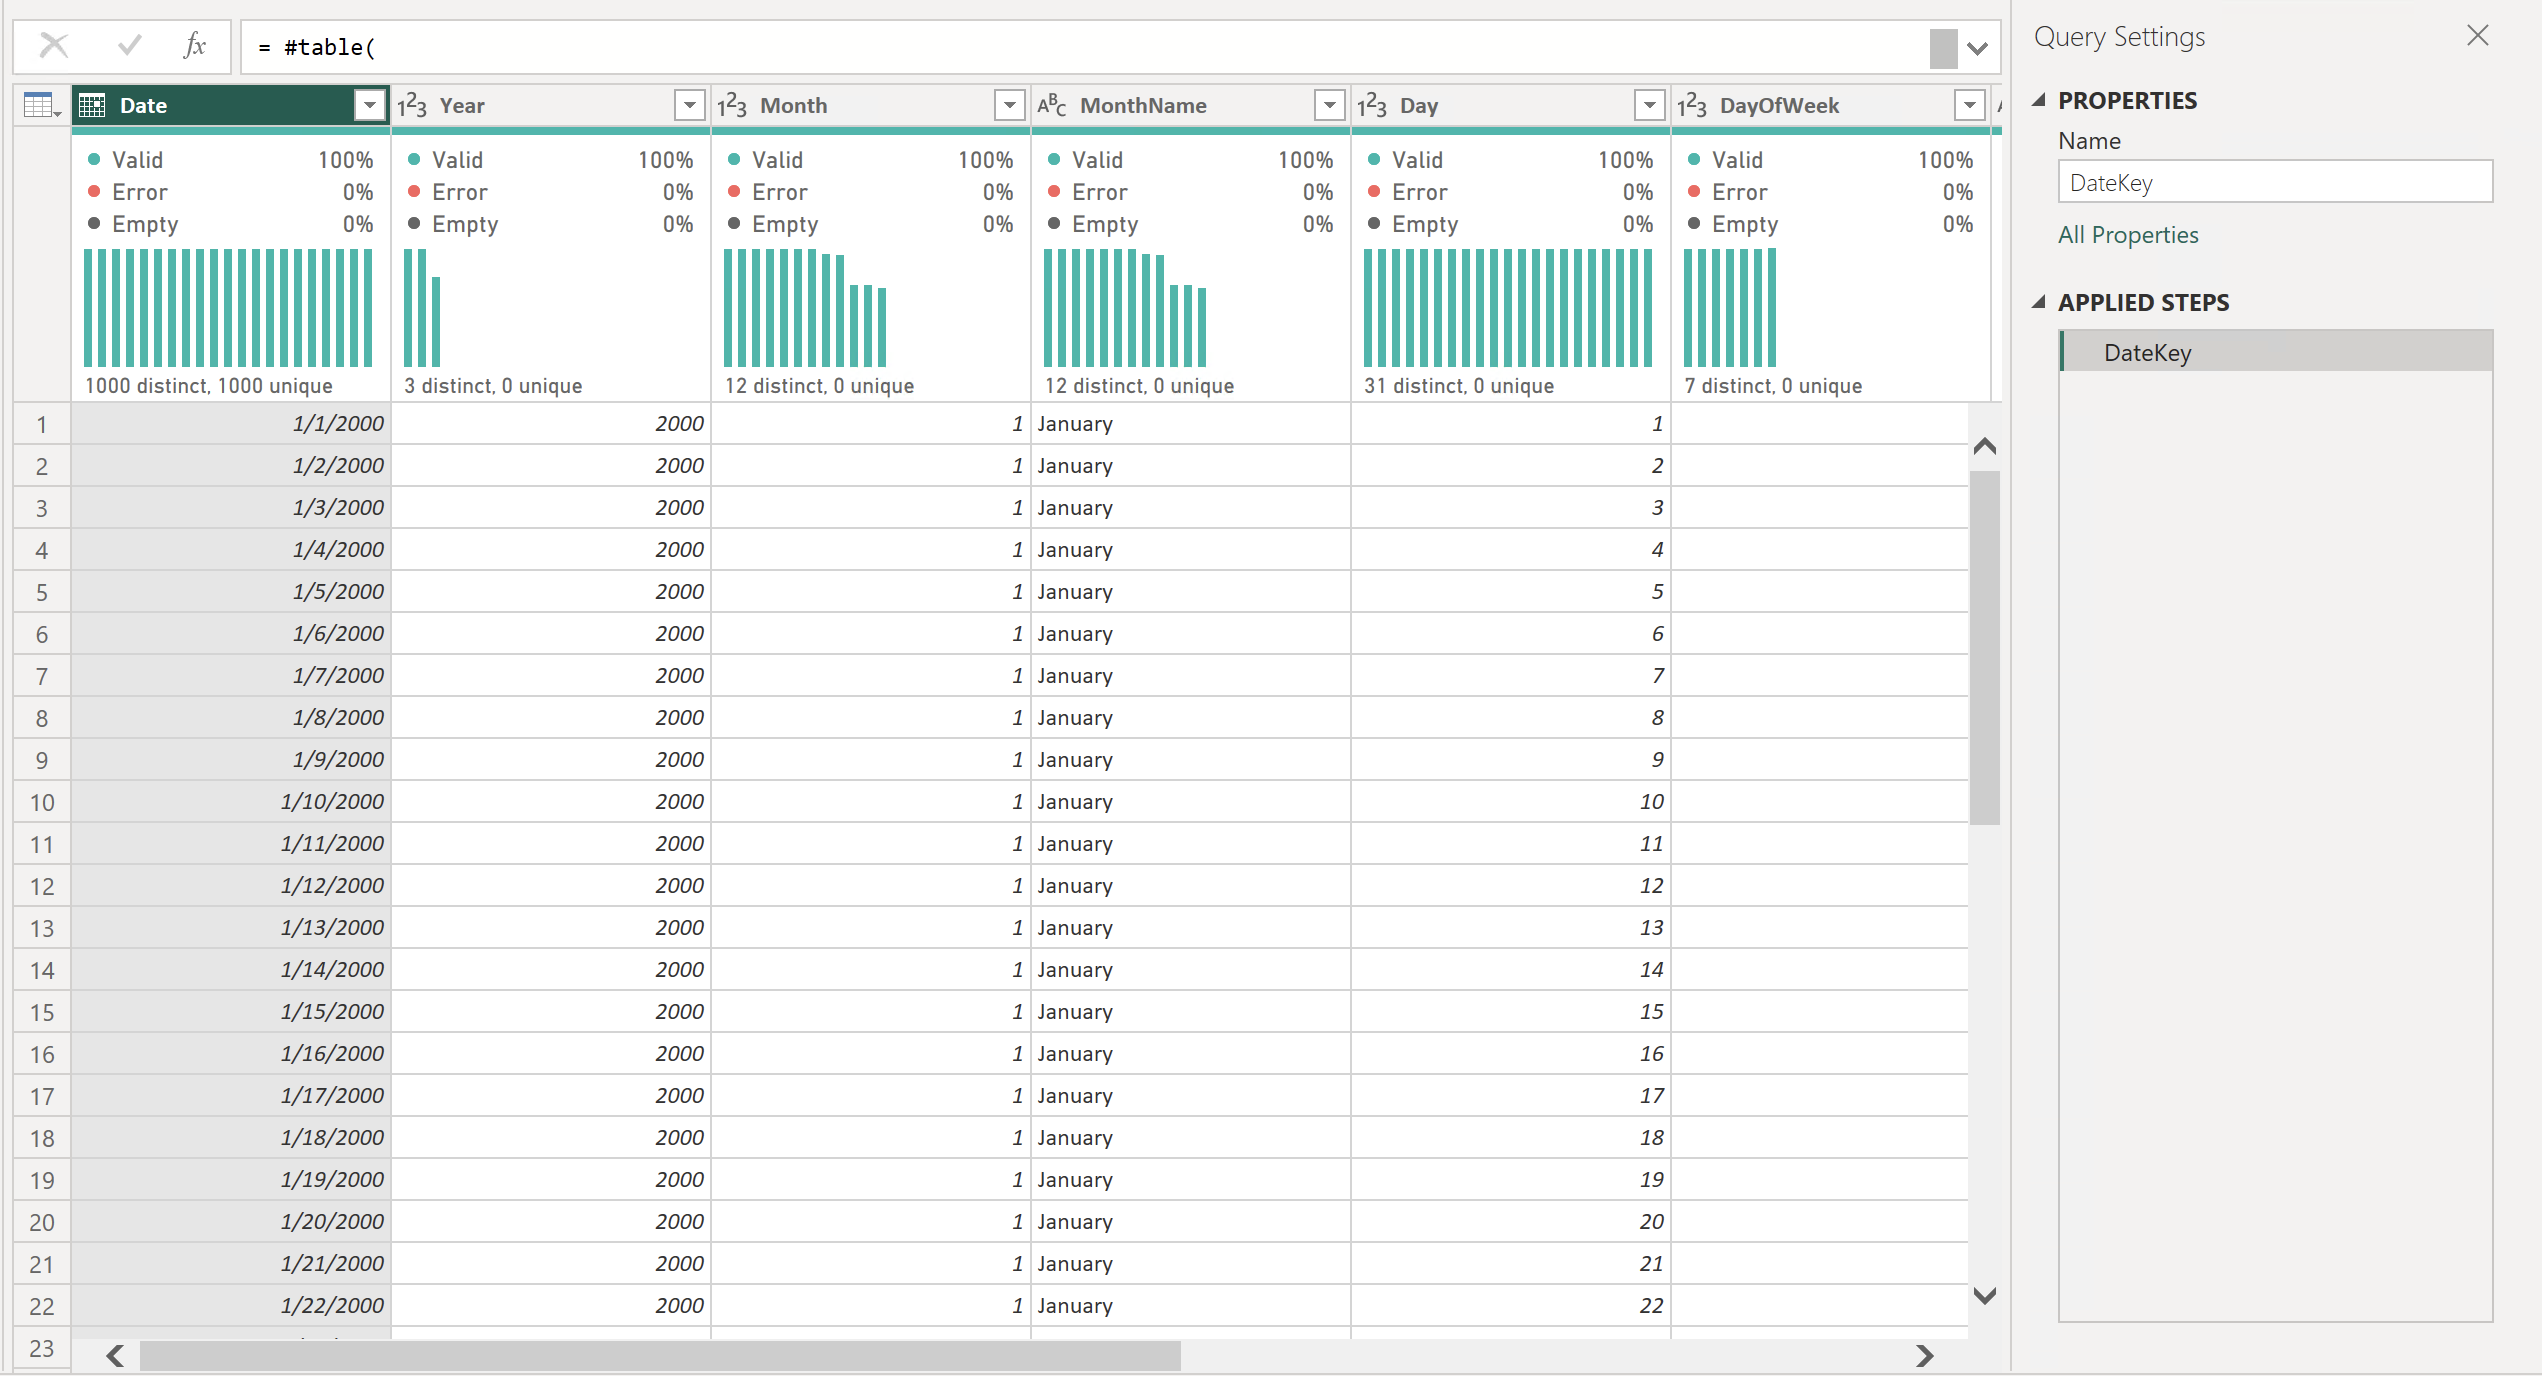 DateKey Table
This expression can be used as a single-step query that creates the date dimension entirely. At the same time, we can easily add additional columns thanks to the extension of record types and the “List.Transform” function. At the same time, when going through that transformation, we can also use inner “Let .. in expressions.”
Again, one small warning, as with the fourth attribute for Table.AddColumn. So even here, the values are not retyped, and the UI cannot recognize that the column’s content needs to understand the data type. Or, even in this variant, Power Query trusts us that we have arranged for the result to be in the correct type.
Speed comparison and Summary
It would be worth discovering how these procedures fare in terms of speed. So let’s use the Diagnosis within the Power Query -> Tools tab. And measure the speed of individual resulting tables.
 Exclusive duration of tested Queries - Speed Summary
From the measurement results, the resulting #table variant is noticeably more advantageous than the other variants from the point of view of speed. At the same time, the option where we create columns at once using a record is faster than the method where we create individual columns step by step. All the variants have the same columns and values and perform the same calculations.
We’re still talking about flash results because it’s milliseconds, so I wouldn’t get too worked up about which option in this case and lean towards the idea that it’s good to use the option that we understand and will manage well.
But at the same time, a scenario will come when you need to optimize the speed of data transformation, and then some of these tricks come in handy. For example, you create all the necessary columns in records and only then extract them into columns.